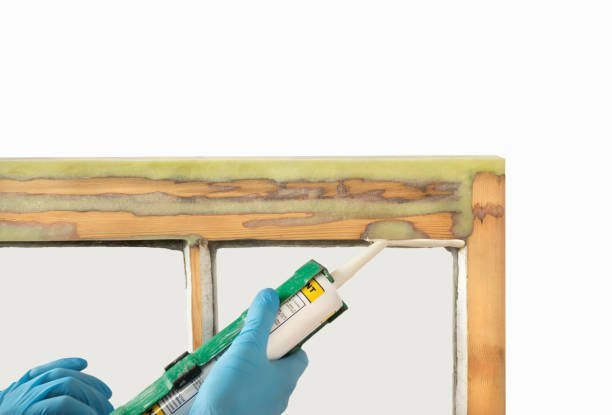
Wood Filler Putty: Guide to Repairing and Restoring Wood

When it comes to maintaining and repairing wood surfaces, wood filler putty is an unsung hero. Whether you’re a DIY enthusiast sprucing up old furniture or a professional carpenter restoring intricate woodwork, filler putty can be your best friend. In this guide, we’ll cover everything you need to know about filler putty, including its uses, types, application tips, and common mistakes to avoid.
What is Wood Filler Putty?
Wood filler putty is a versatile compound used to repair cracks, holes, dents, and imperfections in wooden surfaces. Made from a blend of wood fibers, resins, or other fillers, this product is designed to mimic the appearance and texture of wood when dry. It’s often used in furniture restoration, floor repairs, and general woodworking projects.
Why Should You Use Wood Filler Putty?
- Restores Aesthetics: It seamlessly blends with wood surfaces, making repairs almost invisible when stained or painted.
- Prevents Further Damage: Filling holes and cracks prevents moisture and pests from causing more harm.
- Saves Money: Instead of replacing damaged wood, you can repair it, extending its life.
- Easy to Use: With just a little practice, anyone can apply filler putty effectively.
Types of Wood Filler Putty
Choosing the right type of filler putty is crucial for achieving the best results. Here’s a breakdown of the most common types:
1. Water-Based Wood Filler
- Easy to clean up with water.
- Dries quickly.
- Best for indoor projects.
2. Solvent-Based Wood Filler
- More durable and moisture-resistant.
- Ideal for outdoor applications.
- Takes longer to dry.
3. Epoxy Wood Filler
- Extremely strong and durable.
- Perfect for structural repairs.
- Can be challenging to sand and shape.
4. Latex Wood Filler
- Flexible and easy to use.
- Great for small repairs.
- Works well with both paint and stain.
How to Use Wood Filler Putty: Step-by-Step Guide
Follow these steps for a flawless application:
1: Prepare the Surface
- Clean the area to remove dirt, dust, or loose wood particles.
- Sand the surface to ensure better adhesion.
2: Choose the Right Filler
- Match the filler’s color to the wood, or plan to paint/stain the surface after application.
3: Apply the Wood Filler Putty
- Use a putty knife or your fingers to press the filler into the damaged area.
- Overfill slightly to account for shrinkage as it dries.
4: Smooth and Shape
- Once applied, use the putty knife to smooth the surface and remove excess filler.
5: Let it Dry
- Allow the filler to dry completely. Drying time varies depending on the type of filler.
6: Sand and Finish
- Sand the dried filler to blend it seamlessly with the wood surface.
- Paint, stain, or seal the surface for a polished look.
Common Mistakes to Avoid
- Skipping Surface Preparation: Dirt and debris can prevent proper adhesion.
- Using the Wrong Filler: Choose the filler type based on the location and nature of the repair.
- Applying Too Much at Once: Work in layers for deep holes to prevent cracking.
- Not Allowing Enough Drying Time: Rushing the process can lead to uneven results.
Tips for a Professional Finish
- Match Colors: Use a stainable filler putty for a seamless look.
- Practice First: Test the filler on a scrap piece of wood to get a feel for the application.
- Seal the Repair: Apply a sealant to protect the repair from moisture and wear.
Conclusion
Wood filler putty is a game-changer for anyone working with wood. It’s affordable, easy to use, and incredibly effective for restoring damaged surfaces. Whether you’re fixing a small scratch or repairing significant damage, filler putty can help you achieve professional results.
FAQs
1. Can wood filler putty be used outdoors?
Yes, solvent-based or epoxy wood fillers are ideal for outdoor use due to their durability and moisture resistance.
2. Can I stain or paint over filler putty?
Absolutely! Many wood fillers are stainable and paintable. Just ensure you sand the surface for a smooth finish.
3. How long does wood filler putty take to dry?
Drying time varies but typically ranges from 30 minutes to several hours. Check the product label for specifics.
4. Is filler putty the same as wood putty?
Not exactly. Wood filler is better for structural repairs, while wood putty is softer and typically used for surface-level fixes.
5. Can I use wood filler on furniture?
Yes, wood filler is perfect for repairing scratches, dents, and holes in furniture before refinishing.
With this guide, you’re now equipped to tackle any wood repair project with confidence. Grab your wood filler putty and bring those wooden surfaces back to life!


